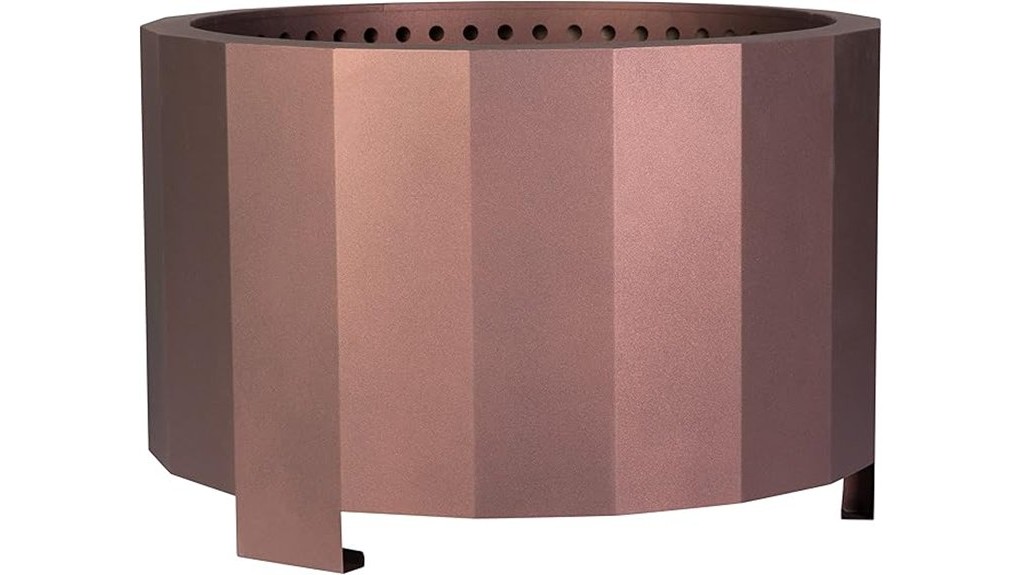
You’ll get a sturdy outdoor mud kitchen with a removable sink and faucet, turnable knobs, chalkboard, shelves, hooks, and a storage drawer that’s ready for sensory play. It’s best for kids 3+, siblings, and caregivers who want creative outdoor fun. Inspect fasteners, apply a UV sealant, and place it on level, well-drained ground. Use simple props and sensory bins to extend learning, and keep hardware dry for storage. Read on to get setup, safety, and comparison tips.
Some Key Takeaways
- Look for sturdy wooden frames, secure fasteners, and childproof hinges to ensure durability and safe play.
- Verify a removable, drainable sink and secure faucet to prevent trapped water and enable easy cleaning.
- Check play features like turning knobs, chalkboard, shelves, and hooks for creative, sensory, and cooperative play value.
- Assess outdoor durability: UV-resistant sealant, elevated placement, and yearly recoating extend lifespan.
- Choose size/material based on space and maintenance—compact for patios, full-size wood for permanent yards, plastic for easy cleanup.
What’s Included and Who It’s Best For
When you unbox the Mud Kitchen Outdoor, you’ll find a realistic playset that includes a removable sink and faucet, a cooking area with turnable knobs, a chalkboard, multiple shelves, hanging hooks, and a storage drawer—everything needed for pretend cooking, washing, and organizing tools. You get a sturdy wooden frame assembled quickly, plus room for pots, scoops, and sensory bins to expand tactile experiments. It’s best for ages 3+, groups of siblings or playdates, and caregivers who want outdoor, creative play. Add role costumes and simple props to deepen storytelling and cooperative play while teaching cleanup and responsibility. It’s also a smart option for families looking for outdoor toy storage solutions that keep play areas tidy and accessible.
Safety, Build Quality, and Outdoor Durability
Because kids will be climbing, turning knobs, and hauling pots, you’ll want to check the Mud Kitchen’s build and finishing before regular use. Inspect joints, screws, and edges for splinters or loose fasteners; tighten anything wobbly. Make sure moving parts use childproof hinges and that knobs are secure to prevent pinches. Confirm the sink is removable and drains without trapping water. For outdoor durability, apply a UV-resistant weatherproof sealant to exposed wood and recoat yearly. Place the unit on level ground, elevate slightly to avoid standing water, and store under cover in harsh seasons to extend lifespan. Consider adding a playset canopy to keep kids cool and protect the mud kitchen from sun and rain.
Play Features That Boost Creativity and Learning
After you've checked the build and secured the fittings, look at how the Mud Kitchen itself sparks learning through play. You’ll use the sink, faucet, and turning knobs to create stations that invite sensory exploration—mud, water, leaves, and grainy textures encourage fine motor practice and scientific questioning. The chalkboard and shelves help you set goals, label ingredients, and extend pretend narratives into recipes, menus, or shop signs. Encourage role swaps to build social skills; challenge children to measure, sort, and problem-solve with utensils and containers. These practical features turn outdoor fun into structured, transferable learning moments. Consider adding a dedicated chalkboard area to boost creativity and encourage extended outdoor playtime.
Practical Setup, Cleaning, and Storage Tips
If you set the Mud Kitchen on level ground and secure the fittings, you’ll make setup, cleaning, and storage much easier; start by positioning it where drainage won’t pool and where sunlight dries surfaces quickly. Assemble using labeled screws and test the removable sink and faucet for leaks. Plan water management: keep a small bucket nearby for rinse water and use gentle soap sparingly. After play, empty the sink, brush debris from shelves and hooks, and wipe surfaces with a damp cloth. For storage, dry completely, use an easy teardown if needed, store hardware together, and cover to protect from weather. Consider installing the unit on artificial turf designed for playsets to create a durable, low-maintenance play surface that reduces mud and wear.
Which Versions to Buy and How to Compare Options
When choosing a mud kitchen, start by matching the version to how and where your child will play: pick compact, portable models for small patios or frequent storage, full-size wooden units for a permanent backyard setup, and washable plastic options if you want easy cleanup and weather resistance. Compare by size, materials, and realistic features like removable sink, turning knobs, and chalkboard. Check color variants to suit your garden and monitor price ranges for durability versus budget. Prioritize sturdy construction and safe edges, factor storage needs, and read reviews to confirm assembly ease and long-term outdoor performance. Consider how the mud kitchen fits into your overall backyard playset plan to ensure it complements other outdoor activities and equipment.
Some Questions Answered
Can It Be Used Indoors or in Small Apartments?
Yes — you can use it indoors or in small apartments with precautions. You’ll get sensory play benefits, but protect floors and walls with a tray, mat, or detachable liner and keep water use minimal or use containers. Use space saving hacks: foldable crates, wall hooks, and under-table bins to store utensils and limit clutter. Supervise water and messy materials, and choose easy-clean surfaces to keep indoor play manageable and tidy.
Are Replacement Parts or Accessories Available Separately?
Yes — you can buy spare utensils and replacement sinks separately. Check the manufacturer or retailer for official parts like faucets, removable water sink units, knobs, and drawer components; many sellers also offer accessory packs with spoons, pots, and gardening tools. If official parts aren’t available, you can source compatible hardware and durable plastic sinks from hardware stores. Keep model info handy and follow installation guidance to maintain safety and fit.
Does It Require Assembly Tools or Professional Setup?
No, it doesn’t need professional installation; you’ll handle assembly with basic tools required. The kit includes clear instructions and pre-drilled holes, so you’ll use a screwdriver, a wrench or Allen key, and possibly a drill for anchors. Plan 30–60 minutes, work on a flat surface, and tighten bolts progressively. If you’re uncomfortable with DIY or want wall-mounting, you might opt for professional installation.
Is the Paint/Finish Non-Toxic and Child-Safe Certified?
Yes — you’ll find the paint and finish carry non toxic certification and clear child safe labeling, so you can feel confident letting kids play. Check the product tag and manual for specific standards (like ASTM or EN71) listed. If you want extra assurance, wipe surfaces before use and avoid prolonged water soaking. Keep an eye on wear over time; recoat with a certified child-safe product if the finish starts degrading.
Can Multiple Children Play Simultaneously Without Crowding?
Yes — two players can comfortably use it; the layout includes shared stations like the sink and cooking area so kids can rotate tasks without crowding. You’ll find multiple shelves and hooks let others grab tools while one child stirs, and the chalkboard provides a separate spot for planning. Encourage turn-taking at shared stations and assign roles to keep play organized, cooperative, and fun for small groups.